Associate contacts with contact types
You can associate a single contact with a contact type, or do several contacts at the same time. You can also remove a contact type from a contact.
| Note: You can also associate a contact with a contact type when you add a contact manually. |
To associate a single contact with a contact type:
-
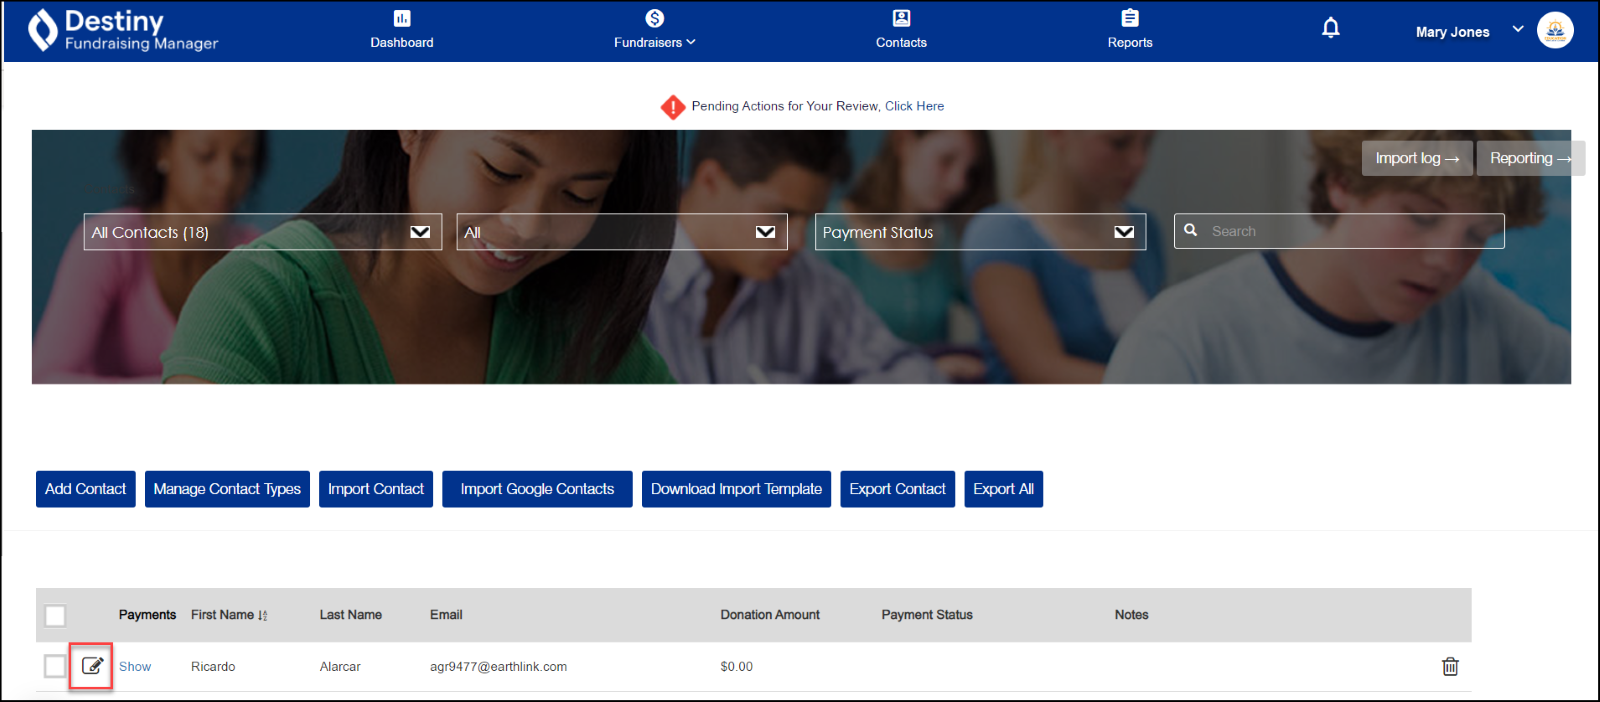
In the header, click Contacts. The Contacts page appears.
- Click the edit icon next to a contact’s name.
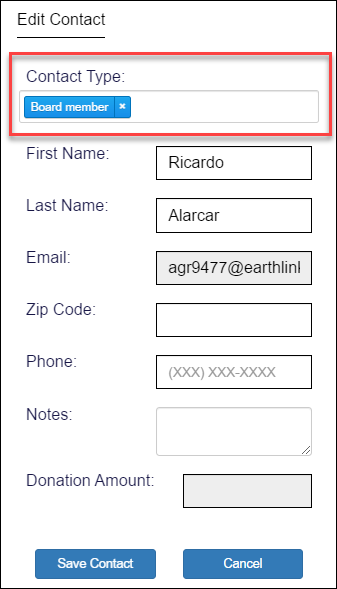
- Use the drop-down to select the contact type you want.
-
Click Save Contact.
To associate several contacts with a contact type:
-
In the header, click Contacts. The Contacts page appears.
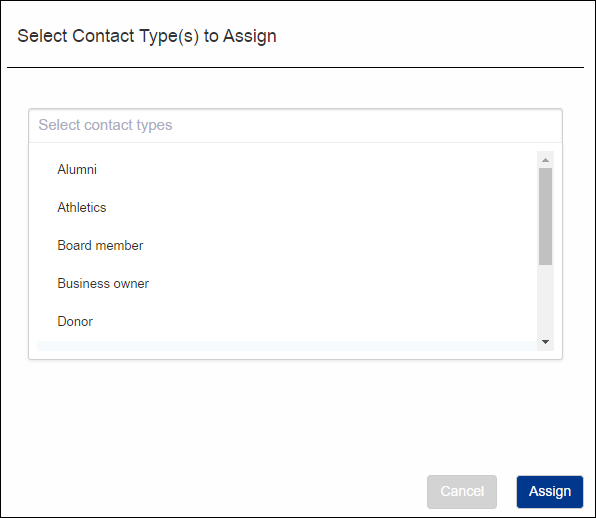
- Select the checkboxes next to the contacts you want to associate with a contact type. The Assign Contact Type button appears:

- Click Assign Contact Type. A pop-up appears:
-
Use the drop-down to select the contact type you want.
-
Click Assign.
To remove a contact type from a contact:
-
In the header, click Contacts. The Contacts page appears.
- Click the edit icon next to a contact's name.
A pop-up appears: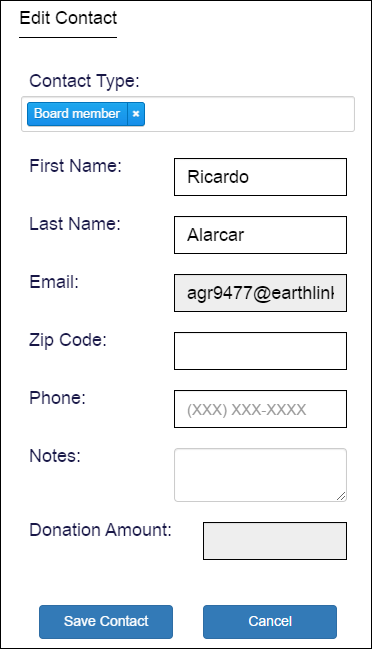
-
In the Contact Type field, click the X next to the contact type you want to delete. The contact type is removed from the field.
-
Click Save Contact.
For additional help, contact techsupport@follettsoftware.com.